- Blog
- Travel Documents & Requirements
- Expert Tips on How to Take a Passport Photo
Expert Tips on How to Take a Passport Photo


Your passport is the single most important travel document that you’ll ever need and should always be at the very top of your pre-travel checklist. What else belongs on your checklist? Well, there’s also your Visa requirements, accommodation, luggage, etc. Plus, if you’re a first-time flyer, brushing up on your air passenger rights is also something to keep in mind.
Did you know that if a flight denies you boarding, it is possible to get monetary compensation for your trouble? At AirHelp, it is our mission to make sure that all customers understand their rights and help them enforce them when things go wrong. But of course, if you are denied boarding because of problems with your passport, this is usually not a valid reason and therefore not eligible for compensation. All the more reason to make sure that your passport is in perfect condition!
- US Passport Photo Requirements
- Some Guidelines on Personal Appearance
- Passport Photo Exceptions
- Passport Photo Printing Options
- Tips for Taking Better Passport Photos
When applying for a passport, your photo matters — it’s the first thing that passport control will look at, so be sure that you take a good one! Here’s how:
US Passport Photo Requirements
- Passport Picture Size
- Passport Photo Requirements for Lighting and Background
- Required Pose for Your Passport Photo
- Digital Alterations
- What to Wear for a Passport Photo
- What You Can’t Wear for Passport Photo
Like most countries, US passport photo requirements ask you for a biometric photo — a machine-readable photograph that helps confirm your identity when passing through passport control. While it doesn’t take any special equipment to take a biometric photo, it still has to adhere to strict passport photo guidelines.
In the US, you have to submit at least one recent photograph of yourself. It cannot be older than 6 months, and should accurately reflect what you currently look like. The quality of the photo should be spotless and be without creases, smudges, or any other signs of damage. You are allowed to submit it in either a glossy or matte finish.
Passport Picture Size
The required passport picture size is 2 x 2 inches (51 x 51 mm). The picture quality should be clean and crisp, with no blurriness or pixelation.
The position of the face should be balanced and centered — the head should occupy about 1 -1 3/8 inches (25 – 35 mm) of the picture, from the bottom of the chin to the top of the head.
Passport Photo Requirements for Lighting and Background
Passport pictures should be in color, brightly lit, and with no shadows. This can be achieved by using bright, diffused light, like the kind of light you find in photography studios or in photobooths. This ensures that all your features are clearly visible and undistorted.
The background color should be plain white, or off-white, with no shadows, patterns, objects, or any other distracting elements.
Required Pose for Your Passport Photo
Passport photos only depict your head and a bit of your neck and shoulders. When posing for a passport photo, be sure to face the camera straight on, making sure that you look at the camera directly. Unfortunately, you won’t be able to show off your good side, but biometric photos have to be able to scan your features properly.
You cannot smile in your passport picture. Keep your expression neutral and relaxed — no blinking or scrunching up your face!
Digital Alterations
Since passport photos have to be machine-readable and an accurate representation of what you look like in real life, you absolutely cannot make any digital alterations to them.
In other words, you cannot remove pimples, scars, or wrinkles with a photo manipulation program, or change the color or shading of your hair, skin, and clothes. You also cannot use filters or any other photo enhancements.
What to Wear for a Passport Photo
Traditionally, passport photos required that you wear some sort of business professional or formal attire, though this has changed in recent years. These days, you are allowed to wear almost any kind of daily attire, including t-shirts, blouses, or dresses.
What You Can’t Wear for Passport Photo
You cannot wear anything that will obscure your face in a passport photo, including hats, glasses, earphones, or any type of head covering.
You also cannot wear a uniform of any type, whether it’s a military, school, or work uniform.
Some Guidelines on Personal Appearance
- Beards
- Makeup
- Bangs and Hair Dye
- Tattoos and Facial Piercings
- Plastic Surgery or Facial Disfigurement
- Gaining or Losing Weight
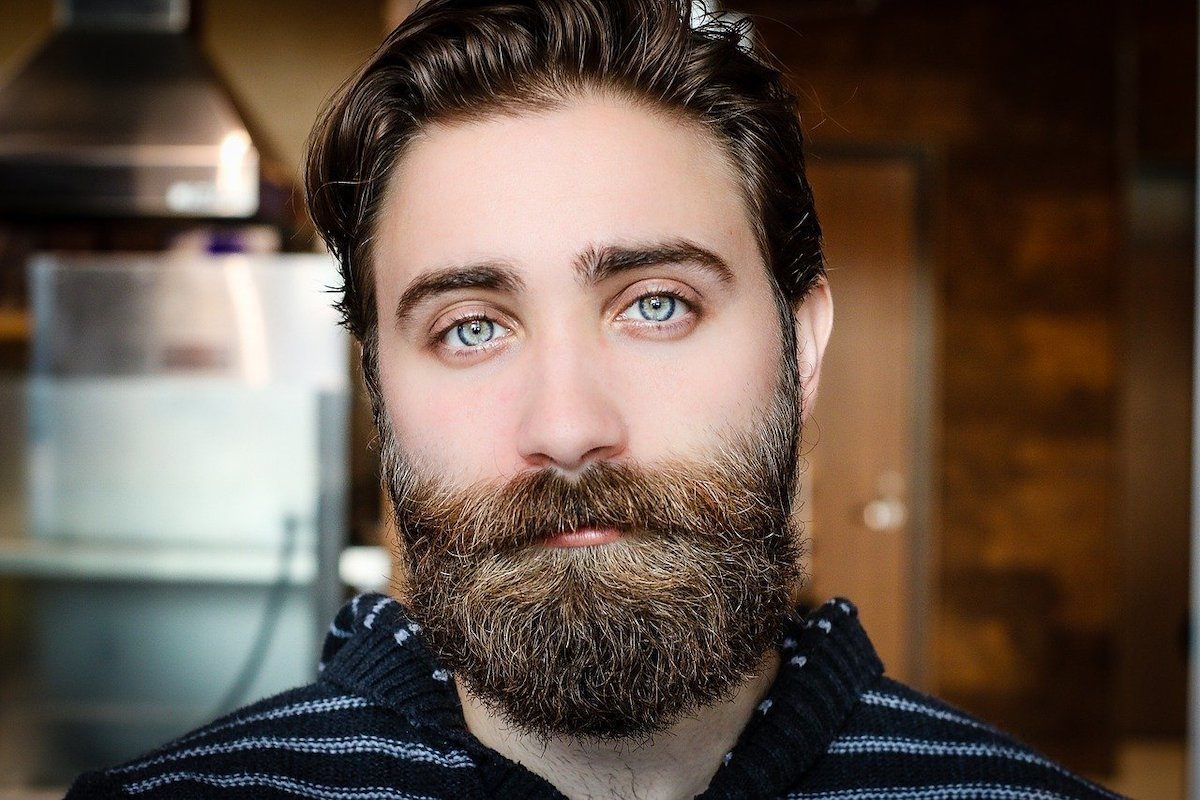
Beards
If you grow or shave a beard, you usually do not have to take a new passport photo as they do not significantly alter your appearance. However, thick, long beards can sometimes obscure parts of your face — while you do not have to shave, you may need to take a new photograph so that your picture reflects your most current appearance.
Makeup
While not wearing makeup in your passport photo is encouraged, you can wear light coverage if you wish. However, try to wear minimal, natural makeup, as your photo should still be an accurate representation of how you look. Try to avoid extreme contouring or otherwise altering your appearance with makeup.
Bangs and Hair Dye
Getting a new haircut or dyeing your hair is generally accepted as it will not significantly alter your appearance. However, if you get bangs, try to keep them away from your face to avoid obscuring any of your features. You can use hair clips or pins to keep your hair in place.
Tattoos and Facial Piercings
Facial or neck tattoos and facial piercings are considered permanent identifying marks and each addition will require that you take a new photograph. Change your passport photo whenever you add or remove visible face tattoos and piercings.
Plastic Surgery or Facial Disfigurement
Plastic surgery and facial disfigurement due to an accident or disease can significantly alter your appearance, which means that you will need to take a new photograph for your passport after such an occurrence.
Gaining or Losing Weight
Excessive weight loss or gain can significantly alter your facial features, which means that you will need to take a new photograph for your passport after losing or gaining a great deal of weight.
Passport Photo Exceptions
- Wearing Glasses
- Wearing Hearing Aids
- Wearing Head Coverings
- Taking a Toddler Passport Photo
- Passport Photo Services for People with Disabilities
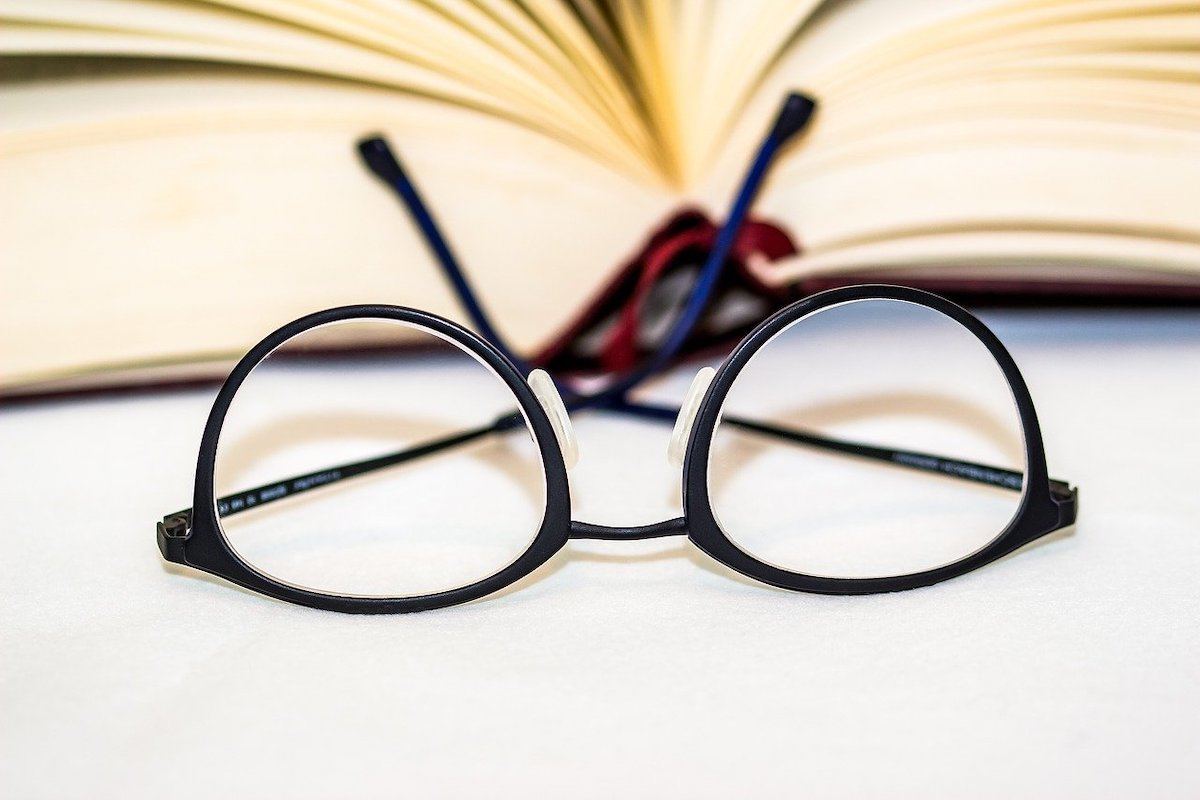
Wearing Glasses
Generally, you are not allowed to wear glasses or sunglasses in your passport photo, so be sure to take them off when you take a photo. However, if you cannot remove your eyeglasses for medical reasons, include a signed note from your doctor in your application explaining your condition.
Wearing Hearing Aids
Unlike headphones or earphones, which will have to be removed in a passport photo, you are allowed to wear hearing aids.
Wearing Head Coverings
Head coverings are not allowed in passport photos unless they are for religious or medical purposes.
If you plan on wearing a head covering for religious purposes, you will need to submit a signed document verifying that your head covering is part of your required traditional attire.
If you need to wear a head covering for medical purposes, include a signed doctor’s statement in your application.
However, a head covering cannot obscure or cover any part of the face, including the hairline. It also cannot create shadows on your face or on the background. This means that some traditional attire will not be allowed, even after you have provided a signed statement.
Taking a Toddler Passport Photo
Taking a toddler passport photo can be tricky as the toddler’s picture must meet the majority of required guidelines, but, very young children are not renowned for their ability to follow instructions. Luckily, most passport authorities are a bit more relaxed when it comes to baby and toddler passport photos and will gladly accept any suitable photo that ticks off most of the requirements.
When taking a photo of a baby, try laying them down on top of a white sheet or a piece of cardstock to create a white, clean background. Be sure that their face is well-lit so that no shadows appear on their face or behind their heads
To help have the child look straight at the camera, you can use a toy to help direct the gaze of the child.
Their eyes should be open, and their mouth closed — you can not submit a photo where the child is smiling, yawning, or sleeping. The child is also the only thing that is allowed to be in the photo — so, no hats, toys, blankets, or any other objects.
As always, you cannot alter a photograph digitally — if there are any objects in the picture, remove them and take the photo again instead of attempting to remove it digitally.
Passport Photo Services for People with Disabilities
If it is difficult for you to take a passport photo due to a disability, there are many services available to you to help you meet the requirements successfully.
For example, people with visual impairments can ask for Braille, audiotape, or large-format applications, while people who are hard of hearing can ask for staff trained in sign language.
If you are not able to meet the passport photo requirements, you will have to explain why you cannot do so, and include a letter from your doctor or a consultant that explains your condition and whether it is permanent or temporary.
Passport Photo Printing Options
- Going to a Professional Photography Studio
- Using a Photo Booth
- Taking and Printing Your Own Photos
- Using Passport Photo Apps
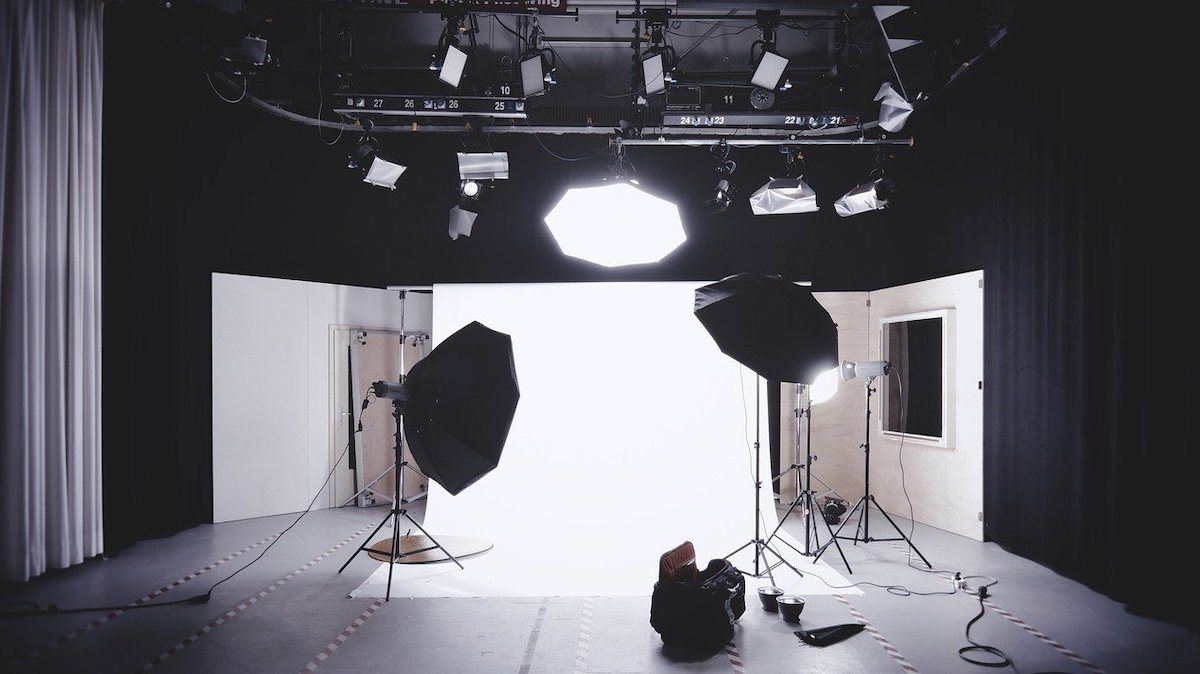
Going to a Professional Photography Studio
By far the easiest way to print your passport photo is to go to a professional photography studio. Most photography studios are fully aware of local passport photo requirements and have all the necessary gear needed to take high-quality photos. They can then print and cut the photo for you.
The major downside of going to a professional studio is the cost — some studios can charge as much as $15 for a pair of photos, depending on where you go.
Using a Photo Booth
An alternative to using a professional photography studio is to use a photo booth. One of the advantages of using a photo booth is that the processing time is almost instant — you don’t have to wait for your photos to be printed and cut, as the machine does everything for you. Just be sure that you pose properly.
Depending on your city, you can find photo booths that print passport photos almost anywhere — at malls, airports, train stations, or just on the side of the road. They are operational 24/7, which makes them a great option if you are short on time.
Taking and Printing Your Own Photos
You can also take and print your own photos. Depending on whether you already have the equipment on-hand, such as lighting, a good camera, and a proper backdrop, this can be a more affordable option compared to using photo booths or a professional photography studio. Just make sure that you fully comply to the passport photo regulations, and that you ask either another person to take your picture, or use a tripod and timer — no selfies allowed!
Using Passport Photo Apps
If you have a phone that can take photos at a high enough resolution, you can also use a passport photo app. One of the great things about using such an app is that they guide you through the process of taking a photo and detect any irregularities such as shadows, poor lighting, or obstructions on the face.
But remember that you cannot alter the photos, so although some of these apps have built-in digital editing tools, make sure to refrain from using them.
Once you have taken your photos, you can then print them yourself or bring them to a print shop.
Some popular passport photo apps include Passport Photo, Passport Photo ID Maker Studio, and Passport Photo Maker.
Tips for Taking Better Passport Photos
- Wear Flattering Clothes
- Style Your Hair
- Pose to Create a Natural Facelift
- Smile with Your Eyes
- Don’t Be Afraid to Take More Photos
Many people are unhappy with how they look in their passport because US passport photo requirements are so strict. If you can’t smile, wear too much makeup, or show off your best side, how can you possibly take a photograph that looks good?
It turns out that you can take better passport photos with just a few tweaks.
Wear Flattering Clothes
Even if you are allowed to wear pretty much any kind of daily wear in your passport photos, try to make an effort and wear clothes that flatter you. Anything with a nice neckline or collar is great, as it will be the only thing that is visible on your passport.
Do try to pick something with a higher neckline, as a dress or shirt with a lower neckline may just get cropped out — and make you appear as though you’re naked.
Style Your Hair
A good hairstyle can greatly improve your passport photo, as long as it is styled away from your face and does not cover your eyebrows.
Try taking a passport photo after getting a haircut, so that your hair looks professionally styled in your picture.
Pose to Create a Natural Facelift
The way you hold yourself can make a massive difference in how you will look in your passport. Slouching, for example, can make you look stressed and tired. Instead, try giving yourself a natural “facelift” simply by improving your posture.
Sit or stand up straight and pull your shoulders back, which will help elongate your neck. To avoid showing a double chin, push your chin forward just an inch or so. This will not change the angle of your head, but help minimize the appearance of a double chin.
Finally, tighten your forehead. Use your face muscles and tighten your forehead, almost as if you are trying to raise your eyebrows — but not really. Imagine trying to pull your face up by the temples, using just the muscles in your head. It’s a subtle effect, but tensing the upper portion of your face can help lift your eyes and make your face look smoother.
Smile With Your Eyes
While you are not allowed to smile in your passport photos, that doesn’t mean that you have to outright scowl. Passports require that you take a “neutral” expression, which can look different on each person.
One common picture taking tip is to “smile with your eyes”. It’s a subtle, gentle smile that removes the grimness a neutral expression can have, but is still faint enough to be considered a neutral expression. Think Mona Lisa — her lips are only ever so slightly upturned, and most of her smile is in her eyes. Posing in this way can make your picture look friendlier and less like a mugshot.
Don’t Be Afraid to Take More Photos
Finally, don’t be afraid to take more photos. Though it may feel awkward, you can always ask your photographer to take another picture if you are unsatisfied with the previous one. Most photography studios allow you to take multiple pictures and choose the one that you like the most. If you are taking the photos yourself, you have all the freedom in the world to make sure you get the very best picture.
Your passport photo will be shown on your passport for years, so be sure to submit a great one!
AirHelp wants you to be prepared when you’re set to fly so that your trip goes smoothly. We’re also here for you when there’s trouble with your trip. If your flight to Europe delayed, canceled or overbooked in the last 3 years you could be owed up to $700. Use our eligibility checker to see if you can get compensated for your disrupted flight.


